PIL原文:Python Image Library
顧名思義就是一個集合影像處理函數的專門包
python 的簡潔真是讓我驚奇阿
如果我早一點學會python
我可能就不會碰 C# 拉~~
教學:
1.http://effbot.org/imagingbook/
2.http://pillow.readthedocs.io/en/3.1.x/index.html
模式
| 1 | 1位像素,黑和白,存成8位的像素 |
| L | 8位像素,黑白 |
| P | 8位像素,使用调色板映射到任何其他模式 |
| RGB | 3×8位像素,真彩 |
| RGBA | 4×8位像素,真彩+透明通道 |
| CMYK | 4×8位像素,颜色隔離 |
| YCbCr | 3×8位像素,彩色視頻格式 |
| I | 32位整型像素 |
| F | 32位浮點型像素 |
濾鏡
在對圖片的幾何操作中可能會將多個輸入像素映射到單個的輸出像素,pil提供4種不同的採樣濾鏡
| NEAREST | 最近 |
| BILINEAR | 雙線型 |
| BICUBIC | 雙三次插值 |
| ANTIALIAS | 平滑 |
底下是一段小小的示範例子,真實函數應該更多
小編只取用了我需要的部分
完整程式碼如下:
from PIL import Image
import numpy as np
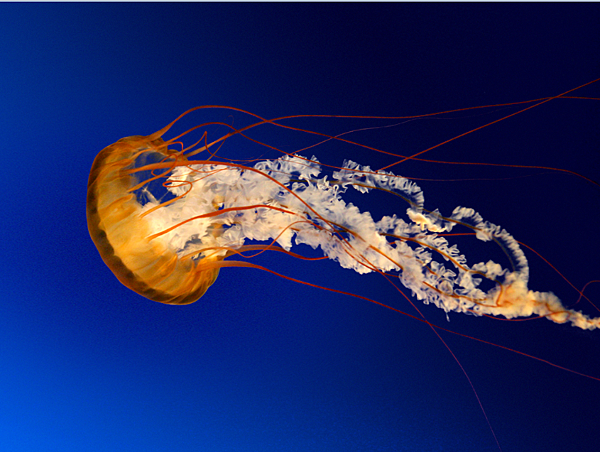
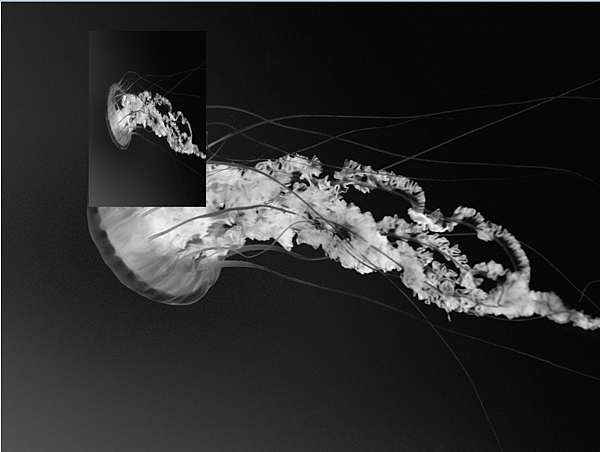
im = Image.open( "Jellyfish.jpg" )
#show image information
print im.format, im.size, im.mode
# You can save where ever you want
im.save( "picture/fileout.png")
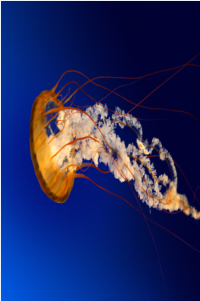
#Resize image weight high
resize_image = im.resize( (200, 300), Image.BILINEAR )
resize_image.save( "picture/Resize.png")
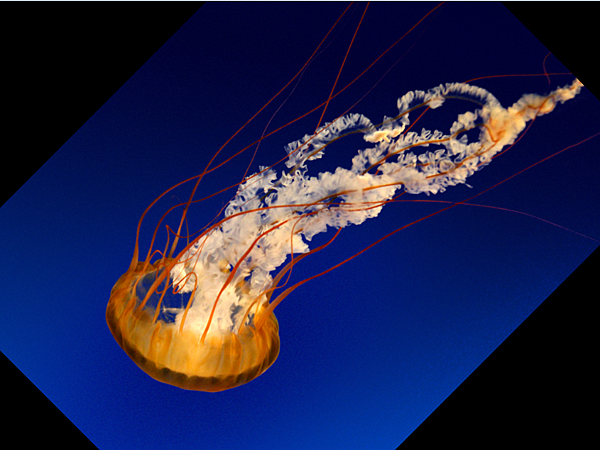
#Rotate image
rotate_image = im.rotate( 45, Image.BILINEAR )
rotate_image.save( "picture/Rotate.png")
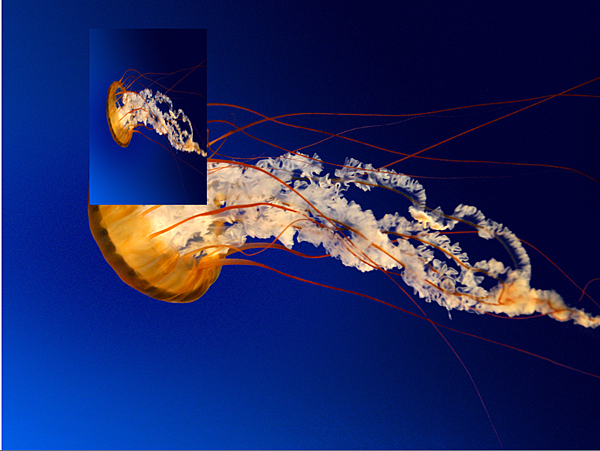
#Paste image 150,50 is the coordinate of the second picture
im.paste( resize_image, (150, 50) )
im.save( "picture/paste.png")
#grey image
grey_image = im.convert('L')
grey_image.save( "picture/Grey.png")
# From image to array
image_array=np.array(im)
print image_array.shape
#From array to image
array_to_image = Image.fromarray(image_array,'RGB')
array_to_image.save( "picture/array_to_image.jpg")
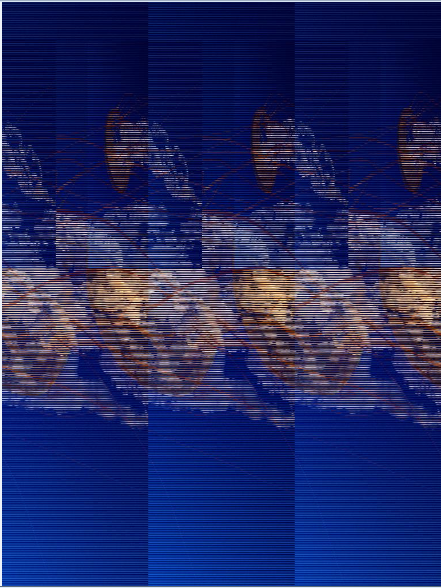
# wrong demo
flat=image_array.reshape(786432,3)
# Height should be the first parameter
wrong_size=flat.reshape(1024,768,3)
wrong_image = Image.fromarray(wrong_size,'RGB')
wrong_image.save( "picture/wrong_image.jpg")
這裡要注意 重設大小必須要高當作第一個參數喔
不然出來的結果就像這樣...
測試reshape 在reshape 後 會不會亂掉 答案是...不會啊~~
re_and_re=wrong_size.reshape(3,768,1024)
back=re_and_re.reshape(768,1024,3)
back_image = Image.fromarray(back,'RGB')
back_image.save( "picture/back_image.jpg")
參考資料:

 留言列表
留言列表